Friday, November 27, 2009

Family recipes gone local

I have been hosting and cooking Thanksgiving dinner for the past seven years. But this year, my family and I were invited to Jake's mom's house for dinner. Deciding what I would cook to contribute to the meal led me to reflect on what dishes I really love the most. I concluded that in order for the meal to feel like Thanksgiving for me, I would have to have my mom's stuffing, cranberry-apple relish, and my grandma's yeast rolls.

Every year, I see new gourmet stuffing recipes, but I can never bring myself to deviate from my mom's simple, classic recipe. My mom always made it by cutting up a loaf of cheap wheat bread and I did too until Thursday. The weekend before Thanksgiving, I made a loaf of light wheat bread (a bread that's a mix of white and wheat flour so that it's not as dense as whole wheat bread) and cut the loaf into medium thick slices and then into small cubes. Next, I made stock to replace the store-bought stock or bouillon broth we always used to moisten the bread cubes. I bought celery, onions, and garlic at the farmer's market and cut about 4 sprigs of thyme from my plant on the patio. The only critical ingredient that I didn't grow this year and wasn't able to find at the market was sage. So, I used dried, ground sage instead. It all comes together about 30 minutes before the meal is served. Being a former vegetarian and now hesitant meat eater, I have never actually made the stuffing to go into the turkey. I've always served it as a side dish or stuffed it into roasted acorn squash halves.

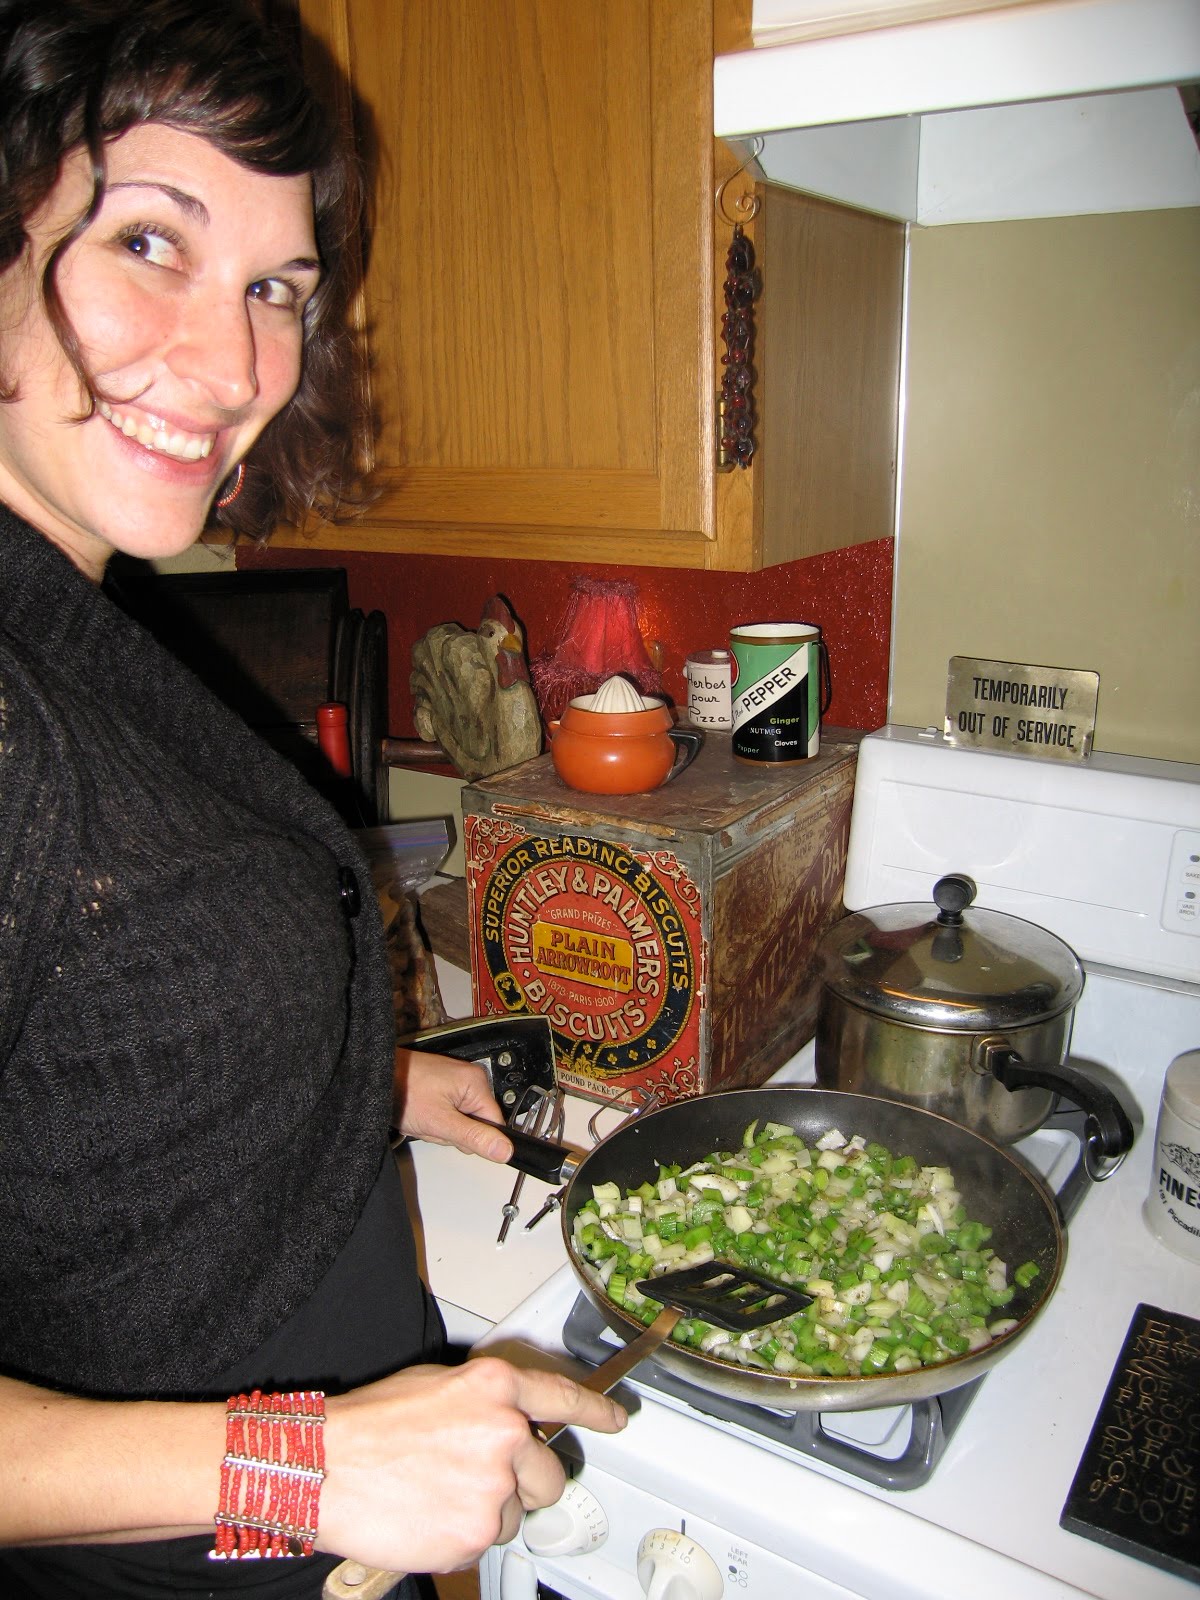
To make the stuffing, you put some olive oil in a large skillet along with a tablespoon or two of butter (also local). Then, you saute a large onion (chopped), a few cloves of minced garlic, and a bunch of chopped celery stalks. I add the thyme, sage, salt and pepper to this mixture while it's cooking. After about 5 minutes or when the onions and celery are beginning to soften, I add heaping amounts of bread cubes. I mix them around and then leave them for a minute or two so that they start browning a bit and start getting a little crispy. I add stock by just pouring some around the pan so that the bread cubes absorb some of the liquid. Once the bread cubes have condensed a bit (they will with the addition of stock), I add more bread cubes. I usually add more thyme and sage to the bread cube mixture as well. It's not an exact science by any means. In fact, I don't actually have a physical recipe. I just make it from memory – memories of watching and helping my mom in the kitchen. That's probably why I find this recipe so comforting.

I have to make a quick note about stock – it's something I've built into my routine this year like baking bread. I always thought it sounded like a pain to put together, but I've since discovered that it really requires hardly any effort at all and the results amazingly impact the taste of your soup. To make a simple stock, all you need to do is roughly chop (large chunks and pieces) about two onions, a celery stalk or two, two or three smashed cloves of garlic, a sprig of thyme (or dried), and any other greens you may have left over from your other cooking adventures. I've added kale, leek greens, carrot tops, and more. You saute those ingredients in a large stock pan with a tablespoon or two of olive oil for just a few minutes. Add about 1 1/2 teaspoons of salt and two quarts of water and let it all simmer together for about 30 minutes to an hour. Finally, strain it into two large mason jars and freeze them. When I know I'm going to make a soup, I just take the jar out of the freezer that morning and am able to use it by the evening.

Finally, I'll leave you with the recipe for the rolls I had to have at Thanksgiving. The recipe I follow, which comes from my grandma Inez, is written in my mom's handwriting, so I'm guessing she used to make them too. They are easy to put together and really don't take much time to make, especially considering they're made with yeast. No kneading is required either – a recipe that's just my style.

Grandma Inez's Two Hour Rolls
My original family recipe says to add enough flour to make a thick batter. Therefore, the amount of flour called for in this recipe is approximate. In the ingredients list below, I noted the amount of flour I ended up using the last time I made these rolls.

2 pkgs. yeast

2 eggs (beaten)

1/2 cup canola oil

2 cups luke warm water

1/4 cup sugar

1 tsp. salt

~ 7 cups of flour

1. In a large mixing bowl, beat the two eggs. Then, add all of the ingredients except the flour and mix together.

2. Add enough flour to make a thick batter (about 6 to 7 cups – I know it seems excessive, but it will be worth it). Add the flour 2 cups at a time. The dough will look ragged, but shouldn't be super sticky when you touch it.

3. Cover the bowl with plastic wrap and let it sit for one hour. Meanwhile, oil two 9 x 13 inch baking pans.

4. On a flour-dusted surface, divide the dough in half. I use a large kitchen knife to cut the dough into pieces. If the dough is sticky, add more flour to the surface and the dough to make it easier to work with. Set one half aside and place the other on your work surface. Divide the first half into 12 rolls – I usually cut the dough into three even pieces and then cut each third into four rolls. Place them in one of the greased pans, evenly spaced. Repeat with the remaining dough and pan. Cover the pans with plastic wrap and let sit for one hour.

5. Bake both pans of rolls at 500 degrees for about 10 to 15 minutes or until the tops are golden brown. Watch them carefully - especially if you're not sure about the actual temperature of your oven. They burn easily.

6. Butter the tops of the rolls upon taking them out of the oven. Enjoy!

Monday, November 23, 2009

Harvest Pie Party

During Pie in the Park in August, Maria and I decided that we needed to host a harvest pie party in order to enjoy pies of the fall variety. So, we invited a few friends over to my house with one request - that they bring a home-made pie. For some of our friends, just the thought of baking is overwhelming. But those who accept the challenge, generally surprise themselves with their home-made creations. I lovingly bullied my close friend into baking rather than using a ready-made pie crust and she proudly showed up with a key lime pie made from scratch.

The spread was amazing. We had traditional pumpkin, pecan, sweet potato, cranberry tartlets and cranberry cake, pumpkin cheesecake, and more. Jake made mulled wine again – a warm, sugary beverage to accompany our pie.

I made a pumpkin streusel pie, my favorite fall pie since I discovered the recipe in Sunset magazine a few years ago. It is like having a traditional pumpkin pie with pecan pie on top. I roasted a sugar pie pumpkin from the Farmer's market to make puree for the filling. Then, in order to keep the pie local, I substituted the evaporated milk for heavy cream from a local dairy. I used cookie cutters and a knife to embellish my pie with leaves of crust. I had to cook it for about 30 minutes longer than it calls for in the recipe in order to get a knife to come out clean, but I suspect that the cream substitution might have had something to do with it. And though it was a little deflated in the middle, the filling was amazingly flavorful and even more delicious than I remembered.

I couldn't be more delighted with our celebration of the seasons – Pie in the Park, to enjoy the fruits of summer, and now Harvest Pie Party, to taste the fruits of fall. So what do we have up our sleeves for winter? Savory pies!

Thursday, November 19, 2009

Robot Flowers

Please allow me to digress for a post while I share our latest project. It all started with a day at the Re-store in Ballard, where we picked out the old door that would become our headboard. We picked the door that seemed to have the most evenly-spaced and evenly-sized panels (we cut a few inches off the bottom of the door to make it even on both ends).


Jake cut three square panels out of 1/4 inch plywood and drilled four holes in both the wood panels and the panels on the door. He labeled each square of the door with a number that matched a wood panel.

Then, he hammered T-nuts into each drilled hole in the wood panels. Those would later receive the bolts that were screwed into the back of the door to hold the upholstered panels in place. Jake chose this system because the thought of just screwing the panels on from the back and having sharp, pointy screws potentially poking us was unnerving.

Once the panels were complete, it was time for me to take over. I decided to first put a thick layer of foam on to each piece to give the panels some depth and structure. Finding a place to put the huge roll of foam to be able to cut out the squares was quite the ordeal – I ended up draping the roll over a filing cabinet. But, once I had it in place, my handy electric knife (thank you, Christy!) cut them out like butter.

I covered the T-nuts with painter's tape and then used spray adhesive to attach the foam pieces to the T-nut side of each wood panel(right on top of the hardware that is shown in the picture above).

Next, I covered each foam/wood panel with a thick batting by stapling it to the opposite side.


Finally, I got to the best part of all - the amazing gray and yellow Amy Butler fabric, which Jake aptly named "robot flowers." It can be a challenge to put together bedroom decor that is the right mix of masculine and feminine, but I think this not-too-girly modern print does the trick. I stapled the fabric to the back of the panel. Note: If you want to cover a 20in x 20in square, you'll need about a yard of fabric per square. I used 2 1/2 yards to cover these three panels, but I barely had enough and having to literally stretch my fabric made the process a lot more stressful.

To finish the project, we bolted the upholstered panels onto the door. Jake created a French cleat to hang it on the wall. He took a 1 x 4 and cut into two lengthwise at an angle. He attached one piece to the wall and the other to the back of the door. Then, they come together at an angle, one on top of the other. It's secured to the wall, but looks like it's attached to the bed. All in all, it was quite the project, but well worth all the effort.

Friday, November 13, 2009

A year in review

It's hard to believe, but on December 1st it will be one year since I made the commitment to be a localtarian and to try and grow as much of my own food as possible. So, to begin, I want to recap what's happened on this journey so far.

I gutted a once-unused section of my backyard and transformed it into three fruitful plots. I also discovered Jake's aptitude for using a saw - something he might be regretting now that I've signed him up to build me a chicken coop.


I learned to use a cloche to protect my tender spring vegetables, which allowed me to get the seeds started much earlier during the chilly month of March. I also rediscovered the joy of salad – nothing tastes better than delicate, vibrant greens eaten right out of the garden. And nasturtium (the beautiful red-orange flowers decorating my bowl) – what a beautiful addition to my garden and our salads!


I discovered that I actually can grow carrots, not just little orange stubs. They just need more room or depth to grow.


I learned to start seeds indoors, which helped me grow the beloved chocolate cherry tomatoes. This was really the most fruitful and successful plant I grew – the plant that made me the star of the staff lounge and the best girlfriend ever.


I rediscovered the kitchen and my love for food. I learned how to use squash, starting my love affair for butternut. I learned that a pumpkin can be more than a jack-o-lantern by roasting it, making it into puree, and turning it into pumpkin butter or a delicious pie.


I discovered the resources available around me, like the organic blueberry farm just a few miles from my work. And the year-round farmers' market in the U district that I used to go to on a whim when I was in college. I also discovered a plethora of blogs that helped me along the way by teaching me more about gardening and how to use the foods I grow.


I learned to bake bread and made my own bread every weekend since last November – dutch oven pot breads, white and wheat sandwich loaves, baguettes, focaccia, chile cheese bread, spelt bread for Jake, and the list goes on. I learned that no kneading is necessary, as long as you have a little time and a type-A personality.


While I made many gains this year, I still have a lot to learn. Luckily, I just got accepted to the King County Master Gardener program, which means my intensive gardening education and 90 hours of community service in the name of gardening will begin on January 9, 2010. I can't tell you how excited I am to get some more knowledge under my belt to be able to really understand what is happening with my soil and plants.

In addition to becoming a master gardener, I have a few goals that I'd like to work towards this year:
  • I want to beef up on my food preservation knowledge beyond freezing. I'm finally going to invest in the materials I need to start canning and we're going to buy a chest freezer for all the grass-fed, local meat Jake is going to buy.
  • I'm going to get rid of a bit more lawn and add two more raised beds for veggies. Jake is also going to help me rethink our current raised bed layout and see if we can't squeeze more into that space.
  • We're going to get chickens! As soon as we get back from our little jaunt in Buenos Aires, it will be time for Project:Chicken Coop.
  • I'm going to make more of a commitment to buy all local grains (besides flour, which I've already been doing) and dried beans.
  • I'm going to add more herbs to my garden, like sage and tarragon, and I want to be more proactive about drying and preserving them so that my spice rack is stocked up for winter.
  • I'm going to jump on the blueberry season as soon as it starts and am going to pick and freeze as many pounds as I can. I discovered this fall that blueberries in oatmeal are delightful. Rationing my 30 cup supply can only last so long.
  • This whole endeavor has helped me learn about how amazing bees are and how much we depend on them for our whole food production. I'm going to grow even more bee-loving flowers than last year, including a beautiful crop of sunflowers.
  • Finally, I want to try my hand at growing peppers this year.
Here's hoping that 2010 is as productive and fruitful as 2009. Cheers!

Saturday, October 31, 2009

Pumpkin Carving Party

I think I mentioned in my last post that I'm a big fan of Halloween. I love it all, especially the harvest bounty all around me at the farmer's market and in my garden. I think this might be one of the greatest times in the season - when we're still eating the bumper crop of tomatoes and peppers from the summer and also feasting on cool weather treats again like lettuce, peas, and chard. Need I mention the bounty of delicious winter squash? You know how much I love butternut.

So, when Jake and I decided to host a pumpkin carving party again, it was an excuse to plan a fall-themed local and seasonal party spread. It was interesting when I thought back about what snacks I had at our last carving shindig, complete with candy corns galore and a cauldron of punch - corn syrup delights. I don't mean to knock the typical Halloween party fare, but at that time, the thought of what ingredients were in those foods or how many miles they had traveled to get here never crossed my mind. So now, my party planning mind was in a different space - time to get creative and crafty with the seasonal foods around me.

The preparations for this Sunday afternoon get-together began on Friday. I roasted two sugar pie pumpkins and made pumpkin puree, which I later used to make pumpkin bread. I saved the seeds and had Jake roast them for snacking at the party. Then, on Saturday, I got dough mixed together for baguettes and soaked a pot of white beans.

Finally, on Sunday, in a frenzy of chopping and baking, everything came together.I baked the baguettes and then sliced them up with fresh farmer's market carrots, a red bell pepper, and a chocolate bell pepper. I served them on a platter with Moroccan carrot dip and white bean dip (the biggest hit of the party). To satiate a sweet tooth, I made carrot oatmeal cookies and pumpkin bread. Then, I put my green heirloom tomatoes to use by making cornmeal-dusted fried greed tomatoes.

To top it off, Jake made mulled wine. It was delicious and cozy.

Jake and I scored two huge organic jack-o-lantern pumpkins at the Ballard farmer's market for five bucks a piece. They were perfect for carving and have been a lovely addition to my porch this week.

Thank you Hollis Rendleman (one of my fabulous OntheDouble(dutch) teammates) for taking so many amazing photos.

Saturday, October 17, 2009

Friday Night Fright

Halloween is one of my favorite times of the year. I love costumes - they're a chance to reinvent myself for the night. I usually choose positive, fun costumes since I'm not big on the gory variety. But then, Jake and I got invited to a Halloween party and we were asked to come dressed as a way we could die. It seemed like bad juju to dress up as a way that I could actually die, so I started looking at it as the creative challenge of coming up with a new costume idea that I look forward to every year.

After much deliberation, I decided to go with a garden-themed idea: bird flu. And how did I get bird flu, you ask? Why, the chickens, of course! Yes, I went as crazy chicken lady with bird flu. Instead of going morbid, I went over the top. Jake wore his climbing harness with a frayed rope attached, which is both perfect for the party and completely frightening for me at the same time. I think he probably saw my costume the same way. I hope this play on reality isn't actually a preview of what's to come.

Sunday, October 11, 2009

My fall garden

A few months ago, I started planning my winter garden. This was a first for me. I usually garden from April to August and then clean everything up for the winter. Now I know that lots of vegetables can be grown and harvested throughout the winter. Being the type A planner that I am, I mapped my fall and winter garden out in my garden journal before I planted everything. Jake thought this was hilarious, but it was necessary, I swear. For one thing, I had to plant some plants in a bed that would be protected by a cloche (the lettuce, spinach, and fennel). Not only that, some seeds needed to be planted in late July and others in August and October.
Another bed in my fall garden contains hardier vegetables that don't need to be protected with a cloche. I planted peas (which will just last through the fall), rutabagas (which store great in the cold ground), overwintering onions, collard greens, and kale.
On another note, I was finally able to harvest my winter squash. I didn't get as many as I hoped, but this was the first summer I've ever grown winter squash and I'm grateful for every one of them that actually grew. I ended up with four of the largest delicata squash I've ever seen (delicate they are not) and three large butternut squash.
Those of you that follow my blog know about my love for butternut squash. It was the best to crack open my own homegrown beauty for dinner on Saturday night.
I hate to admit it, but when I was cutting it open, I was halfway nervous that it wouldn't be the beautiful, firm squash I hoped it would be. However, I was delighted to discover that is was almost solid "meat" - just a little hole of seeds to scoop out. I peeled it and cut it into little cubes, which yielded about 8 cups of squash. I used five cups of it in a yummy recipe for Roasted Squash and Black Bean Tacos from Diggin Food. I served it with homemade corn tortillas, fried green heirloom tomatoes and chocolate cherry tomato salsa.
The chocolate cherry tomatoes deserve a special tribute. These are from the two plants I started from seed in February and raised indoors. In June, hundreds of little green tomatoes appeared all over the plants and from then on, about two or three pounds ripened each week. It is the most amazing harvest I could have imagined. I don't know if this is normal for cherry tomatoes, but just enough ripened each week for us to comfortably eat and share. I am still harvesting cherry tomatoes from these plants. Last week, I harvested a whopping four pounds. For the past four weeks, I've been bringing in pounds of cherry tomatoes to my staff lounge – they're inevitably devoured by noon. These tomatoes are so sweet and delicious, Jake says I've ruined him for tomatoes. If you've ever thought of growing tomatoes, try planting a few of these. You won't be disappointed.