Sunday, July 11, 2010

Our Second Spring!

I learned in a Seattle Tilth class last year that July is our second spring. That means that now is the time to start planting your fall and winter garden. I use the Seattle Tilth Maritime Northwest Garden Guide for direction and make sure I buy seeds for overwintering plants or plants that are meant to be planted for the fall. A lot of times the varieties will be slow-bolting, which means the seedlings hold out for our cool, fall weather longer than varieties we'd plant in the spring that would quickly go to seed in our hot summer weather.

The key is to keep that seed bed moist – you don't want the soil to dry out before your seeds germinate. One way you can do that is by draping some floating row cover over the seed bed. It is a special type of agricultural fabric that is designed to let light and rain water in, while keeping a lot of pests out. You want to drape it loosely on the seed bed with some slack, so when the seedlings start growing, the fabric will move and "grow" with them. Just remember to keep it watered under there!

This month, you can plant:

Overwintering Carrots
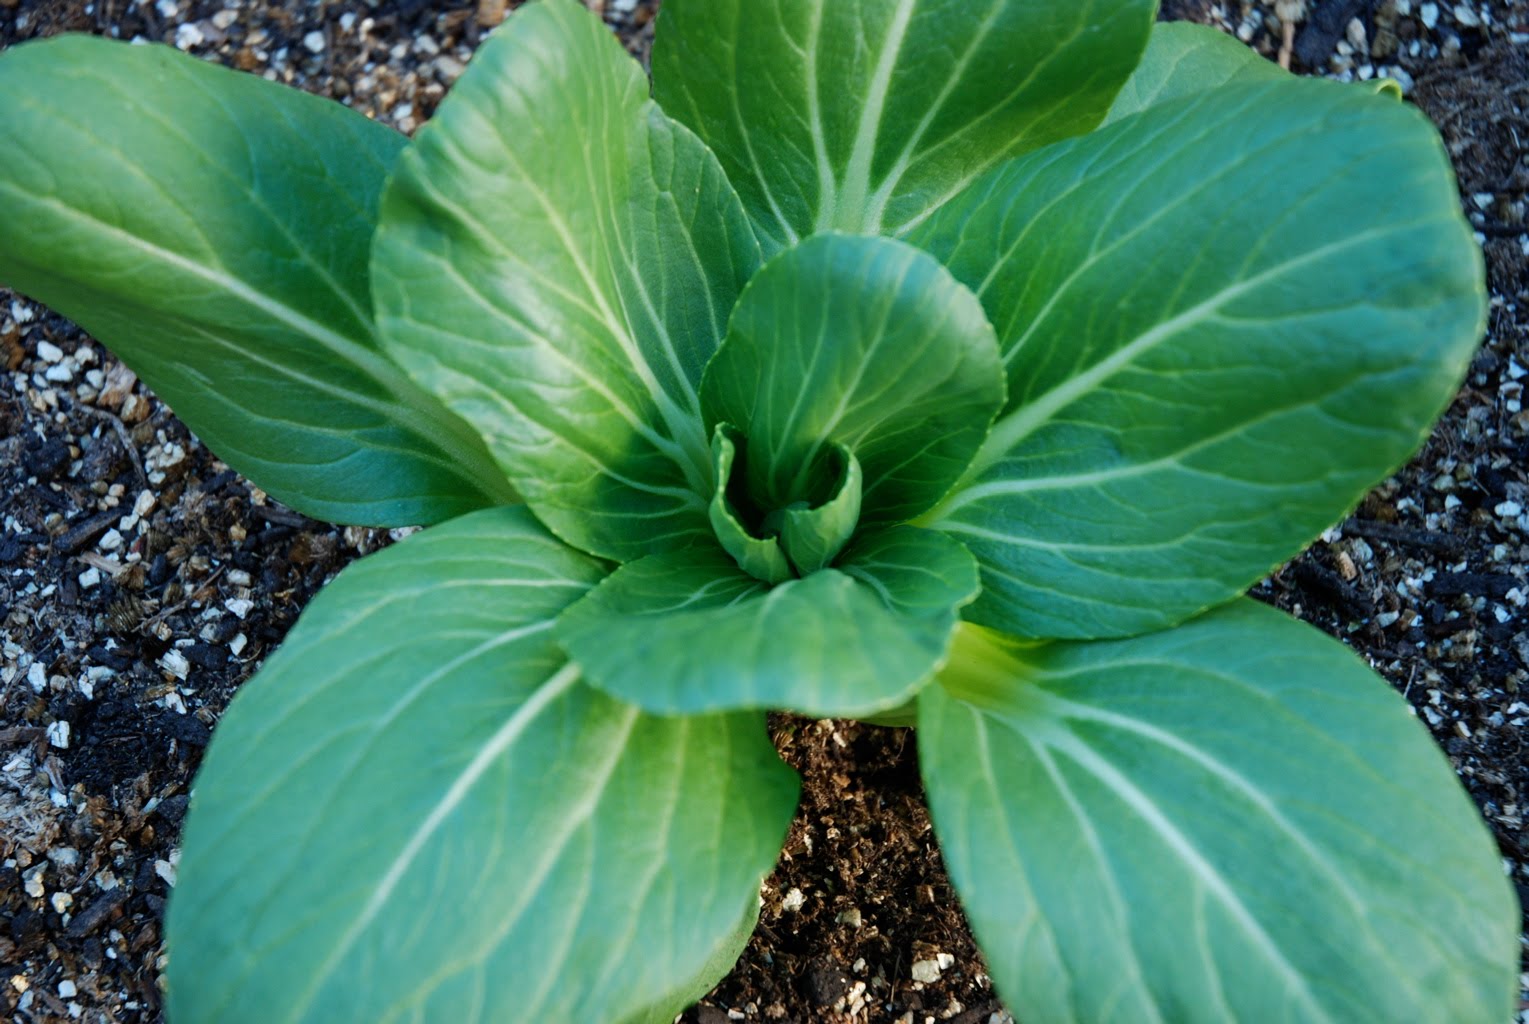
Oriental Greens, like Pac Choi

Broccoli, Cauliflower, and Cabbage

Swiss Chard and Kale

Snap and Snow Peas

In late July and August, plant:

Spinach and Lettuce

For a complete listing of all the delicious vegetables you can grow during the fall and winter, check out the Maritime Northwest Garden Guide. On my Pacific northwest urban farm, it's indispensable.

Thursday, July 8, 2010

Homemade Hiking Sustenance

I went for an amazing hike on Tuesday with a couple of my girlfriends to Noble Nob near Mt.Rainier National Park. I was really excited about it because I have never done any hikes in that area, nor have I spent much time that close to Mt.Rainier.

We were lucky to have beautiful, sunny weather. The temperature was perfect – not too hot, not too cool. The hike is seven miles round trip and there's only about a 500 ft elevation gain, so it's not too rigorous a hike. We had to traverse a few snowy patches, some that completely covered the trail, but it was fun and melting snow run-off that flowed down little waterfalls made for some interesting scenery along the way.

Because I am the ultimate planner and wanted to bring localtarian snacks to eat along the way, I made homemade energy bars. They are chock-full of whole grains and will keep in an airtight container for up to two weeks (or could be frozen), so they can be fodder for other outdoor adventures as well.

Peanut butter cranberry energy bars
Adapted from Sunset, October 2008

Cooking oil spray or neutral-tasting oil, like Canola oil

Dry ingredients:
1 cup regular rolled oats
1/3 cup oat bran
3 tbsp. flax seeds
1 cup whole-wheat flour
1/2 tsp. each baking powder and salt
1/2 cup raw pumpkin seeds
1/2 cup dried cranberries

Wet ingredients:
3/4 cup natural peanut butter (I get mine freshly ground in the bulk section of the PCC)
1/4 cup milk (I used almond milk)
1 large egg
1/2 cup honey
1 tbsp. lemon juice

Line a 9 x 13 in. pan with plastic wrap, leaving some to overhang on the 9 in. sides, and coat with cooking-oil spray or brush with canola oil. In a large bowl, stir together the dry ingredients until well blended.

In the bowl of a stand mixer, beat together the wet ingredients until well blended.

Add the flour mixture (dry ingredients) to the peanut butter mixture and beat until completely blended. Scrape the dough into the prepared pan and, with wet fingers or a rubber spatula, pat to fill the pan completely and evenly. The dough is sticky so you may need to wash your hands a few times. Chill the dough, in the pan, until firm, about 30 minutes.

Preheat the oven to 300 degrees. Invert the pan onto a work surface, lift off the pan, and remove the plastic. Using a bench scraper or knife, cut straight down lengthwise through the middle, then crosswise to make 16 bars, each 1 1/2 in. wide. Place the bars about 1 in. apart on a baking sheet lined with parchment.

Bake the bars until lightly browned and somewhat firm to the touch, about 20 minutes. Remove from the oven and let cool completely.
Special thanks to Hollis for taking these beautiful pictures and Stacey for posing in one of them with me!

Wednesday, July 7, 2010

Basil Lemonade

Well, summer officially arrived in Seattle this week. The highs were in the 80s today and the weathermen were saying it's supposed to be around 90 tomorrow. A few of my girls came over today and to keep them cool and refreshed, I made a pitcher of basil lemonade. It was super delicious. So, if you're sweltering too in your neck of the woods, I highly recommend that you try it.

Basil Lemonade
Adapted from The Herb Companion, July 2010

1 cup fresh squeezed organic lemon juice, about 5 lemons
1/2 cup sugar
6-8 large genovese basil leaves (more or less - this is not an exact science)
Sparkling water (I used local brand Talking Rain Sparkling Water, Lemon Zest flavor)
Ice

Combine the lemon juice and sugar in a mason jar with a lid or cocktail shaker; shake vigorously until combined.

Put the basil leaves, ice and lemon juice mixture into a pitcher. Fill up the pitcher with about a liter of sparkling water (I used about half of a 2 liter bottle). Give the lemonade a good stir and serve it in cold glasses with a basil leaf or two.

Makes one pitcher (about 6 -7 pint glasses).

Enjoy and stay cool!

Monday, July 5, 2010

My first tomatoes...in June!

I harvested my first ripe, Stupice heirloom tomato for our Fathers' Day BBQ. My first tomato... in June, thanks to my lovely plastic-covered hoop house structure! I tempted fate when I put those seedlings in the ground so early, but I guess they got enough heat in their little house. As for the peppers and tomatillos...I'm not so sure. I'll have to keep you posted on those.

Those beautiful tomatoes came from the seeds I saved last summer, my first attempt at saving seeds. I guess it worked!

Jake and I were diggin' this series of photos. Basically, it's the super simple, but ridiculously delicious way I put this first tomato to use.


Home-made French walnut bread with fresh Chevre

I can't get enough goat cheese lately. After giving up dairy last year for my allergies and hearing that goat cheese is more easily digested, I've been giving it a try. Actually, I think "giving it a try" is a major understatement at this point.


Fresh basil leaves topped by delicious Stupice tomato slices and a healthy drizzle of olive oil


Devoured with pleasure

Tuesday, June 29, 2010

Peas with a little cello

I harvested my first peas of the season yesterday. I find harvesting peas to be so intriguing. I get into a groove, picking peas like crazy, and then, when I stop for a minute because it seems like I've picked all the peas in an area, I find more.

If you stare into the pea vines long enough, you'll find more right in front of your nose. I know it sounds strange, but when you think about it, most of the things we harvest (think zucchini and strawberries) are a different color than the plant that surrounds it, so they're easy to spot. But peas, and beans for that matter, and their surrounding leaves and vines are the same color, so they are easily camouflaged amongst the legume foliage.

I toted my little red ipod around with me all day yesterday as I gardened and harvested those delicious peas and just couldn't get enough of my new tunes. I usually garden to the sounds of the birds and the city, but I recently discovered a musical gem that has made my gardening doubly entertaining. While listening to one of my favorite podcasts, Radio Lab, I heard Jad, one of the co-hosts of the show, interviewing Zoe Keating. Zoe is a cellist that fuses together different melodies, created with her cello, to compose songs that sound as if they were being played by an orchestra. After replaying that podcast episode several times so I could hear the sample songs she played, I finally bought her new album. It's not even on iTunes yet, but you can download the mp3 version of the album directly from her web site. I don't know how many times I've listened to track two, Escape Artist. Cheesy, I know, but I find it breath-taking.

Monday, June 28, 2010

Got chicken wire?

Well, my summer vacation is in full swing and I am in project mode – big time. Jake came home on Thursday evening to find me in the middle of painting the bathroom. It was time to make it a little more farmhouse chic like the rest of the house. And nothing quite says farm like a little chicken wire, at least on my little urban "farm". So, I put some extra chicken wire to use this weekend by making a funky and practical girly bathroom accessory, an earring holder.

I just painted an inexpensive, wood picture frame from Ikea. Once the paint was dry, I cut out some chicken wire with my fantastic tin snips and used a heavy-duty stapler to attach the wire to the back of the frame. If you don't count the time it takes for the paint to dry, this craft takes about ten minutes to complete. It almost takes more time deciding which pair of earrings to wear.

Sunday, June 27, 2010

The Ladies: Three and half months old

Lucy


Ethel


Penny (a.k.a. Henny Penny)